

The quick answer
Add a booking link on Free, or embed your calendar on Standard or Advanced.
Create your Event Type and availability in ClimbCal. To embed it, use Add to Website, copy the generated iframe code, and paste it into a WordPress Custom HTML block or Elementor HTML widget.
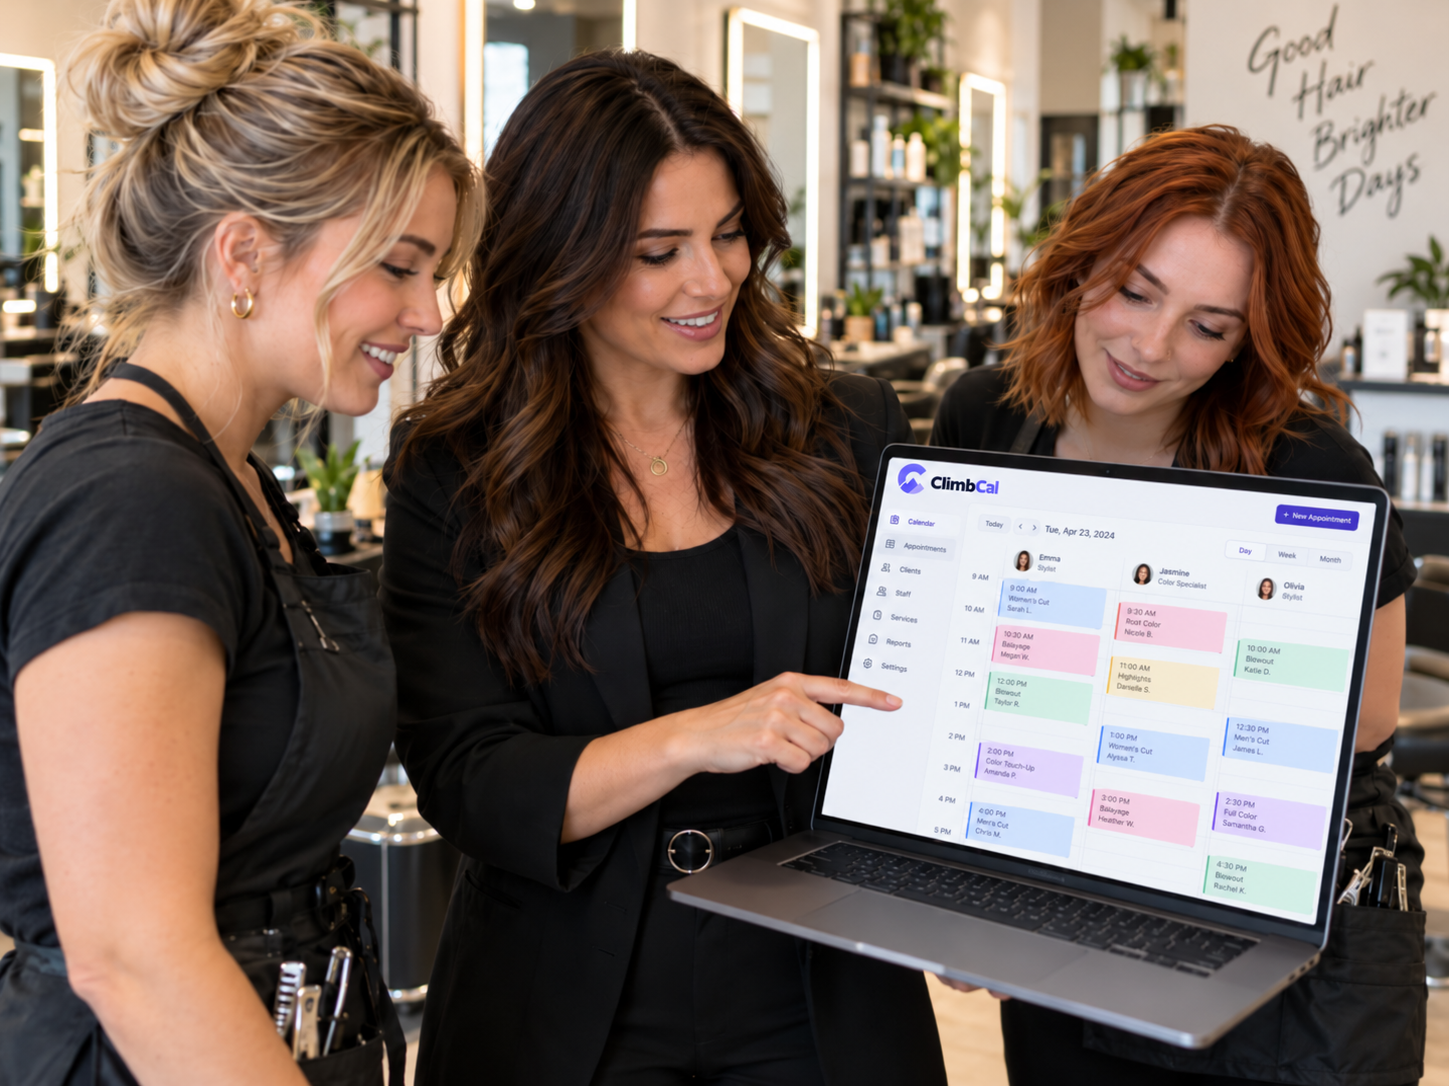
Want customers to book appointments directly through your WordPress website? You don't need to build a booking system from scratch or install a complicated WordPress plugin.
With an online appointment scheduling platform like ClimbCal, you can create a professional booking page, configure your availability, and embed the booking experience directly into your existing website.
Whether you're a consultant, coach, tutor, freelancer, or small business owner, adding online booking makes it easier for customers to schedule appointments without the back-and-forth of emails and phone calls.
In this step-by-step guide, we'll show you how to add online booking to your WordPress website using ClimbCal, including instructions for websites built with Elementor.
Why add online appointment booking to WordPress?
Your website might already explain your services, showcase your work, and provide contact information. But what happens when a potential customer is ready to book?
If they have to send an enquiry and wait for a response, you're adding an unnecessary step.
An online booking system makes the process simpler for everyone.
With ClimbCal, you can:
- Accept bookings 24/7. Customers can view your available appointment times and book whenever it suits them.
- Reduce scheduling emails. Customers choose from your available times without needing to contact you first.
- Avoid double bookings. Connect your Google or Microsoft calendar so existing commitments are taken into account.
- Offer different appointment types. Create separate booking pages for consultations, lessons, meetings, and other services.
- Collect payments or deposits. Connect Stripe to accept payments during the booking process on supported plans.
- Keep everything organised. Manage appointments and scheduling from one dashboard.
And because ClimbCal works independently of WordPress, you don't need to manage a separate booking database or maintain a dedicated WordPress booking plugin.
What you'll need before getting started
To follow this tutorial, you'll need:
- An existing WordPress website.
- Access to your WordPress dashboard.
- A ClimbCal account.
- A ClimbCal Standard or Advanced plan if you want to embed your booking page directly into your website.
ClimbCal also offers a Free plan, which allows you to create a public booking page and share its link. However, inline website embedding requires a Standard or Advanced plan.
You can compare ClimbCal plans here.
Step 1: Create your appointment type in ClimbCal
The first step is to create an appointment that customers can book.
In ClimbCal, these are called Event Types.
An Event Type represents a particular appointment, such as:
- Free 30-minute consultation
- 60-minute coaching session
- Initial client appointment
- Online tutoring lesson
- On-site consultation
Each Event Type has its own booking page, duration, scheduling rules, and customer questions.
To create one:
- Sign in to your ClimbCal dashboard.
- Select Event types from the left-hand menu.
- Click New event type.
- Enter the event information in the Basic details section.
Give your appointment a clear title and description so customers understand what they're booking.
You can also specify a meeting address if the appointment takes place at a physical location.
Tip: If you're still configuring your appointment, keep its status as Draft. When everything is ready, change it to Active so customers can book.
Step 2: Configure your scheduling and availability
Next, decide when customers can book appointments.
Open the Scheduling section of your Event Type.
Here you can configure:
- Appointment duration: How long each booking lasts.
- Default duration: The duration selected by default if you offer multiple options.
- Slot interval: How frequently appointment start times are offered.
For example, you might offer a 60-minute consultation with appointments starting every 30 minutes.
ClimbCal uses the timezone configured in your Availability settings.
Set your working hours
Open Availability from the ClimbCal dashboard to define your regular working schedule.
For example:
- Monday to Friday: 9:00 am–5:00 pm
- Saturday: 9:00 am–12:00 pm
- Sunday: Unavailable
You can also configure date overrides for holidays, days off, or changes to your regular schedule.
If you connect your Google or Microsoft calendar, ClimbCal can check existing calendar commitments when determining which appointment times to offer.
This means customers see times that work with your actual schedule.
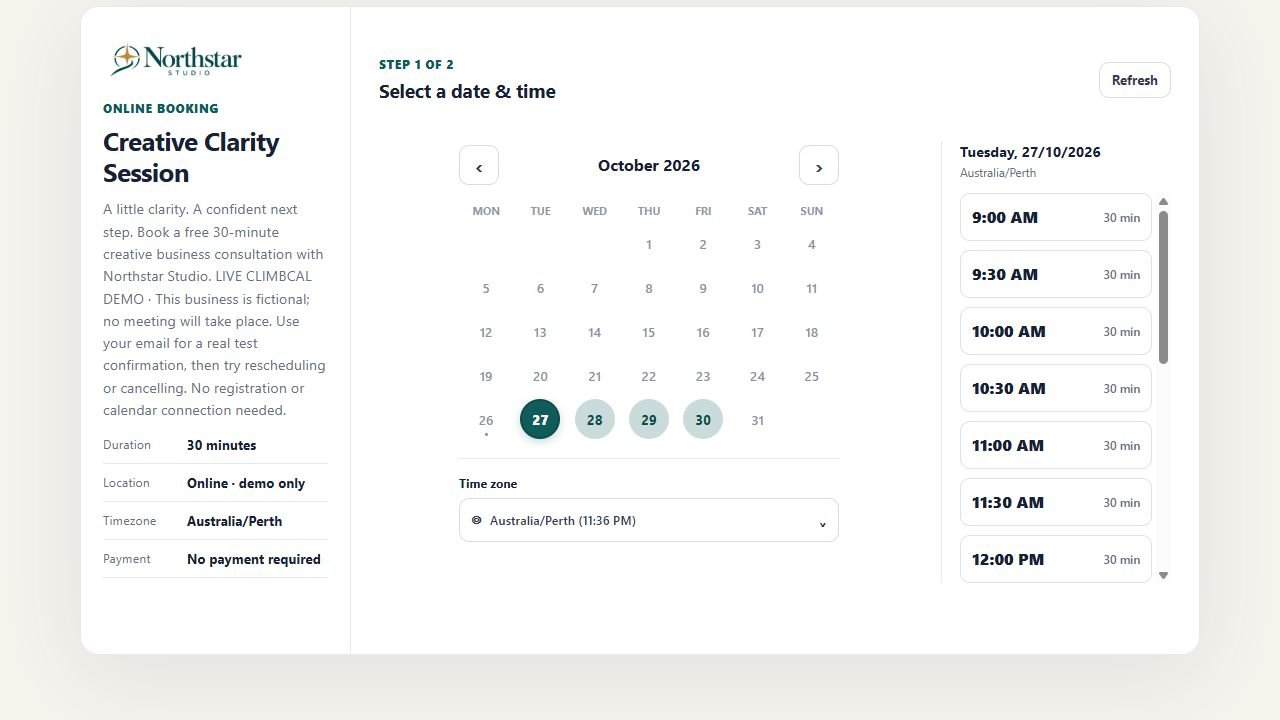
ClimbCal’s live demo: customers choose an available date and appointment time. Your colours and appointment details can be customised.
Step 3: Customise your booking settings
Before publishing your booking page, it's worth reviewing the other Event Type settings.
ClimbCal provides six configuration sections.
Basic details
Set the appointment title, description, location, and whether the event is active.
Scheduling
Configure appointment durations and the interval between available start times.
Booking rules
Control how customers can book, including minimum notice, how far in advance appointments can be made, daily booking limits, and buffer time around appointments.
For example, you could require at least 24 hours' notice before a customer can book.
Guest questions
Collect information from customers during the booking process.
You might ask:
- What would you like to discuss?
- Is this your first appointment?
- Is there anything we should know before the meeting?
ClimbCal supports different question formats, including short text, long text, dropdowns, and confirmation questions.
Payment
If you use a supported plan and have connected Stripe, you can choose whether customers pay nothing upfront, pay the full amount, or leave a fixed deposit when booking.
Policies
Add your cancellation and rescheduling expectations so customers know the conditions before making an appointment.
Once you've finished configuring the Event Type, click Save event type.
Step 4: Generate your website booking embed code
Now comes the important part: adding your booking page to WordPress.
ClimbCal can generate the HTML code required to display your booking experience directly inside your website.
You don't need to write the code yourself.
Follow these steps:
- In ClimbCal, open Event types.
- Choose your appointment from the Current event dropdown.
- Open the Basic details section.
- Find the Customer booking page area.
- Click Add to Website.
- Preview the embedded booking experience.
- Copy the generated iframe HTML code.
An iframe is a standard web technology that allows one webpage to display content from another.
In this case, it allows your ClimbCal booking experience to appear within your WordPress page.
Your visitors can select their appointment time and complete the booking without having to navigate away from your website.
Important: Copy the complete HTML code generated by ClimbCal rather than copying only the public booking URL.
Step 5: Add online booking to WordPress
There are two straightforward ways to embed your ClimbCal booking page, depending on which WordPress editor you use.
Option A: Using the WordPress Block Editor (Gutenberg)
If you're using the standard WordPress editor, follow these steps. You will need an account with permission to add iframe code:
- Log in to your WordPress dashboard.
- Navigate to Pages → Add New, or edit an existing page.
- Give your page a title, such as Book an Appointment.
- Click the + button to add a new block.
- Search for Custom HTML.
- Select the Custom HTML block.
- Open the HTML editor and paste the iframe code you copied from ClimbCal. In newer WordPress versions, select Edit HTML, paste into its HTML panel, then select Update to apply the block changes.
- Preview your page to check how the booking interface appears.
- Click Publish or Update.
Your ClimbCal booking page should now appear directly inside your WordPress website.
You can add text above the booking area, such as a short description of the appointment or instructions for customers.
Option B: Using Elementor
If your WordPress website was built using Elementor, the process is just as straightforward. The HTML widget is restricted to administrators by default; if you cannot find it, ask your site administrator for help.
- Open your WordPress dashboard.
- Create a new page or open an existing page.
- Click Edit with Elementor.
- Add a new container or select the section where you want the booking interface to appear.
- Search the Elementor widget panel for HTML.
- Drag the HTML widget into the desired location.
- Paste the iframe code generated by ClimbCal.
- Click Publish or Update.
That's it! Your online booking page is now embedded in your Elementor website.
Design tip: For the best experience, place the booking widget in a reasonably wide container. Use Elementor's responsive preview to check the layout on desktop, tablet, and mobile.
If the booking area looks too short or displays unnecessary scrollbars, review the iframe dimensions in your generated embed code or the height of its surrounding section.
Step 6: Test your online booking page
Before sharing your new booking page with customers, take a moment to test the complete experience.
Open the published page in a private or incognito browser window.
Check that:
- The booking interface loads correctly.
- Available appointment dates and times are displayed.
- Customers can select an appointment.
- Required questions appear correctly.
- The booking can be completed successfully.
- Confirmation emails arrive as expected.
- The booking appears in your ClimbCal dashboard and connected calendar, where configured.
It's also important to test the page on a mobile phone.
Once you're happy with the results, add the page to your website's navigation menu or link to it using a Book Now button.
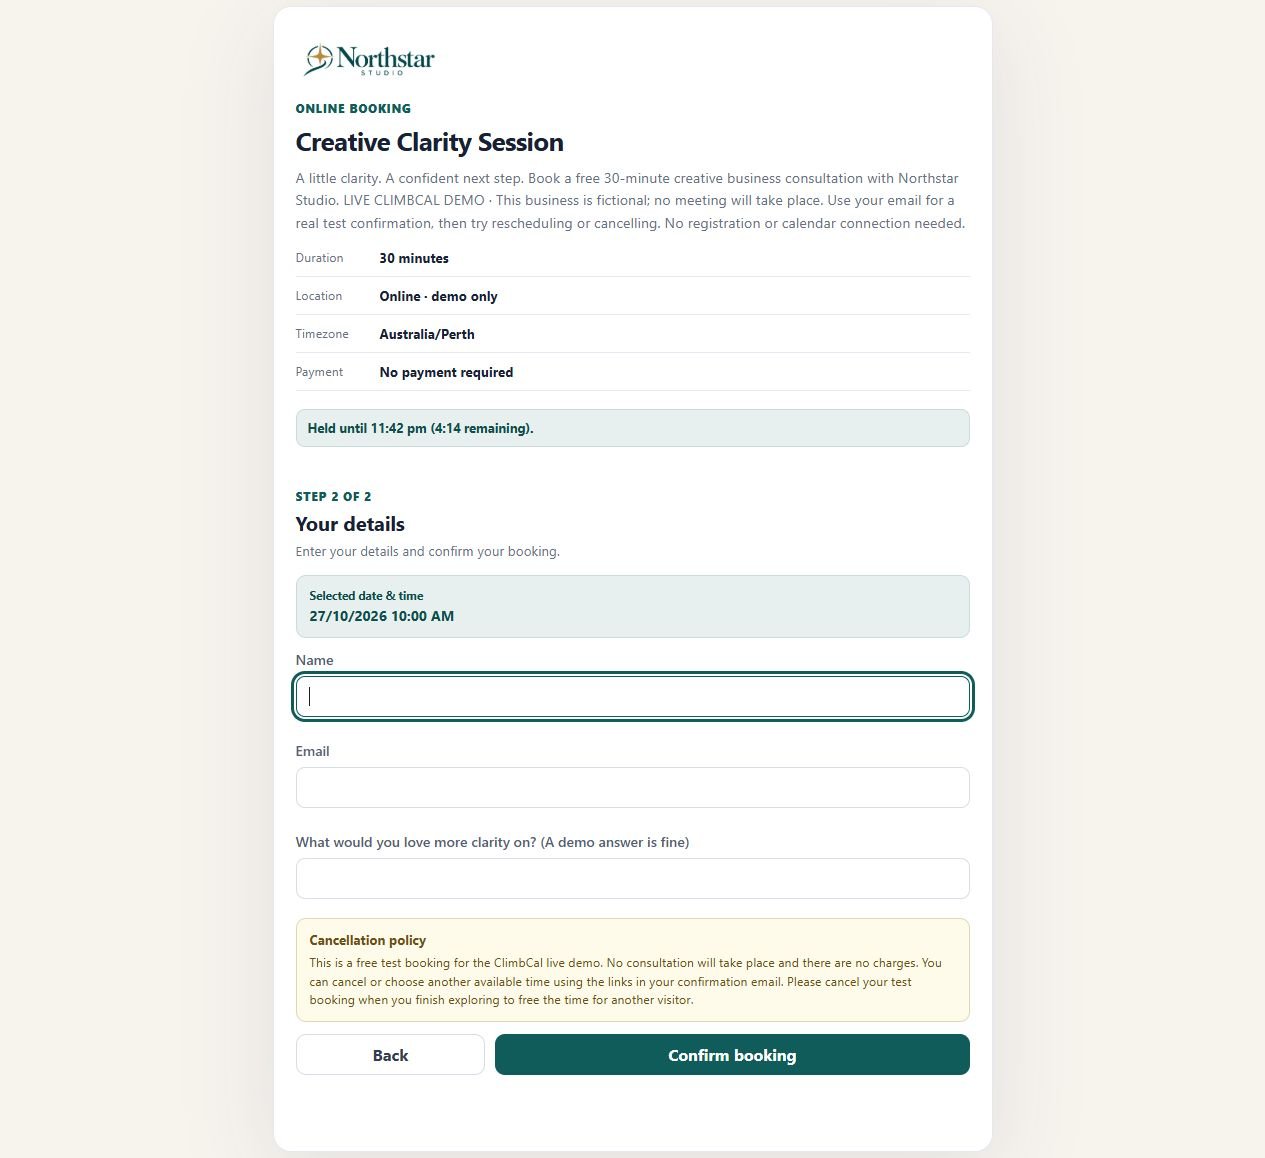
The next step collects customer details and guest questions, then displays the cancellation policy before confirmation. Screenshot from the fictional demo business.
Alternative: Add a booking button instead of embedding
Not every business needs an embedded booking calendar.
If you prefer, you can simply link customers to your public ClimbCal booking page.
To get your booking link:
- Open Event types in ClimbCal.
- Select the event you want to share.
- Go to Basic details.
- Click Copy link.
You can then add this link to any WordPress button, menu item, or text link.
For example, you could place a prominent Book a Free Consultation button on your homepage.
When customers click it, they'll be taken to your ClimbCal booking page to choose an appointment.
This is also a useful option for businesses using ClimbCal's Free plan.
Frequently asked questions
Do I need a WordPress booking plugin?
No. ClimbCal is a standalone online scheduling platform. On a supported ClimbCal plan, you can add your booking experience to WordPress using the generated iframe code and a Custom HTML block or Elementor HTML widget.
Can I add online booking to WordPress using Elementor?
Yes. Open the page in Elementor, add an HTML widget, paste the booking embed code generated by ClimbCal, and publish the page.
Can customers book without leaving my website?
Yes. With ClimbCal's inline website embed, customers can access the appointment booking experience directly within your WordPress page.
Can I accept payments when customers book?
Yes. ClimbCal supports Stripe payments on eligible plans, including full payments and fixed deposits collected during booking.
Can I add more than one appointment type?
Yes. You can create separate Event Types for different appointments, each with its own scheduling rules, duration, and booking page. The number of active event types depends on your ClimbCal plan.
Does this work with WordPress.com?
Yes, on a paid WordPress.com plan with hosting features activated. Both are needed to keep iframe code when you save the page. Self-hosted WordPress websites generally support this method with the appropriate user permissions. See WordPress.com’s Custom HTML guidance for the current requirements.
Start accepting online bookings with ClimbCal
Adding online appointment booking to WordPress doesn't have to be complicated.
With ClimbCal, you can configure your appointments, manage your availability, and generate the HTML code needed to integrate booking directly into your website.
Whether you're running a one-person consulting business or growing a team, ClimbCal gives you a straightforward way to manage bookings without unnecessary WordPress plugins.
Ready to see how it works?
Try the interactive ClimbCal booking demo and experience the booking process from your customers' perspective. No account is required.
Or create your free ClimbCal account and start setting up your first booking page today.
Editor references: WordPress Custom HTML block · Elementor HTML widget · WordPress.com iframe requirements.